How to properly apply epoxy resin to garage floors?
How to properly apply epoxy resin to garage floors
If you’re researching how to epoxy a garage floor properly, you’re in the right place. Before we dive in, let’s be clear: this is not a do-it-yourself tutorial. Epoxy garage floor kits are heavily marketed online and in big-box stores as quick, affordable solutions. But once you understand what’s really involved, you’ll see why professional installation is almost always the smarter choice.
By the end of this article, you’ll understand why cutting corners with DIY epoxy floor coatings often leads to disappointing—and expensive—results.

The Wrong Way: DIY Epoxy Garage Floor Coatings
Walk into any home improvement store and you’ll see shelves packed with epoxy floor kits. They promise easy application and long-lasting results, but only if every step is performed perfectly. Unfortunately, that’s where most homeowners run into trouble.
Step 1: Cleaning the Concrete
Before epoxy can be applied, the garage floor must be thoroughly cleaned. All dirt, dust, and debris must be removed using a broom and a wet/dry vacuum. Any leftover contamination can prevent the epoxy from bonding correctly.
While brooms are common household items, wet/dry vacuums can range from inexpensive entry-level models to professional-grade machines costing several hundred dollars.
Step 2: Degreasing the SurfaceOil stains, grease, and chemical residue must be completely eliminated. This usually requires a strong concrete degreaser and a stiff-bristle brush. For stubborn stains, many DIYers turn to pressure washers combined with cleaning agents.
After degreasing, the floor must be rinsed thoroughly and allowed to dry completely—any moisture left behind can ruin the coating.
Step 3: Opening the Concrete Pores
Epoxy won’t bond properly unless the concrete surface is mechanically or chemically prepared. DIY kits often rely on acid-based etching solutions to roughen the surface. These products are typically diluted muriatic acid, which can be dangerous if mishandled and is far less effective than professional grinding.
Professionals use industrial diamond grinders to open the pores of the concrete evenly, ensuring maximum adhesion. These machines are costly and impractical for most homeowners to purchase.
Step 4: Preparing the Space
Before application begins, the entire garage must be protected. Baseboards may need to be removed, and walls must be shielded with plastic sheeting and painter’s tape to prevent epoxy from bonding where it shouldn’t.
This step is often underestimated but plays a major role in achieving clean edges and a professional finish.
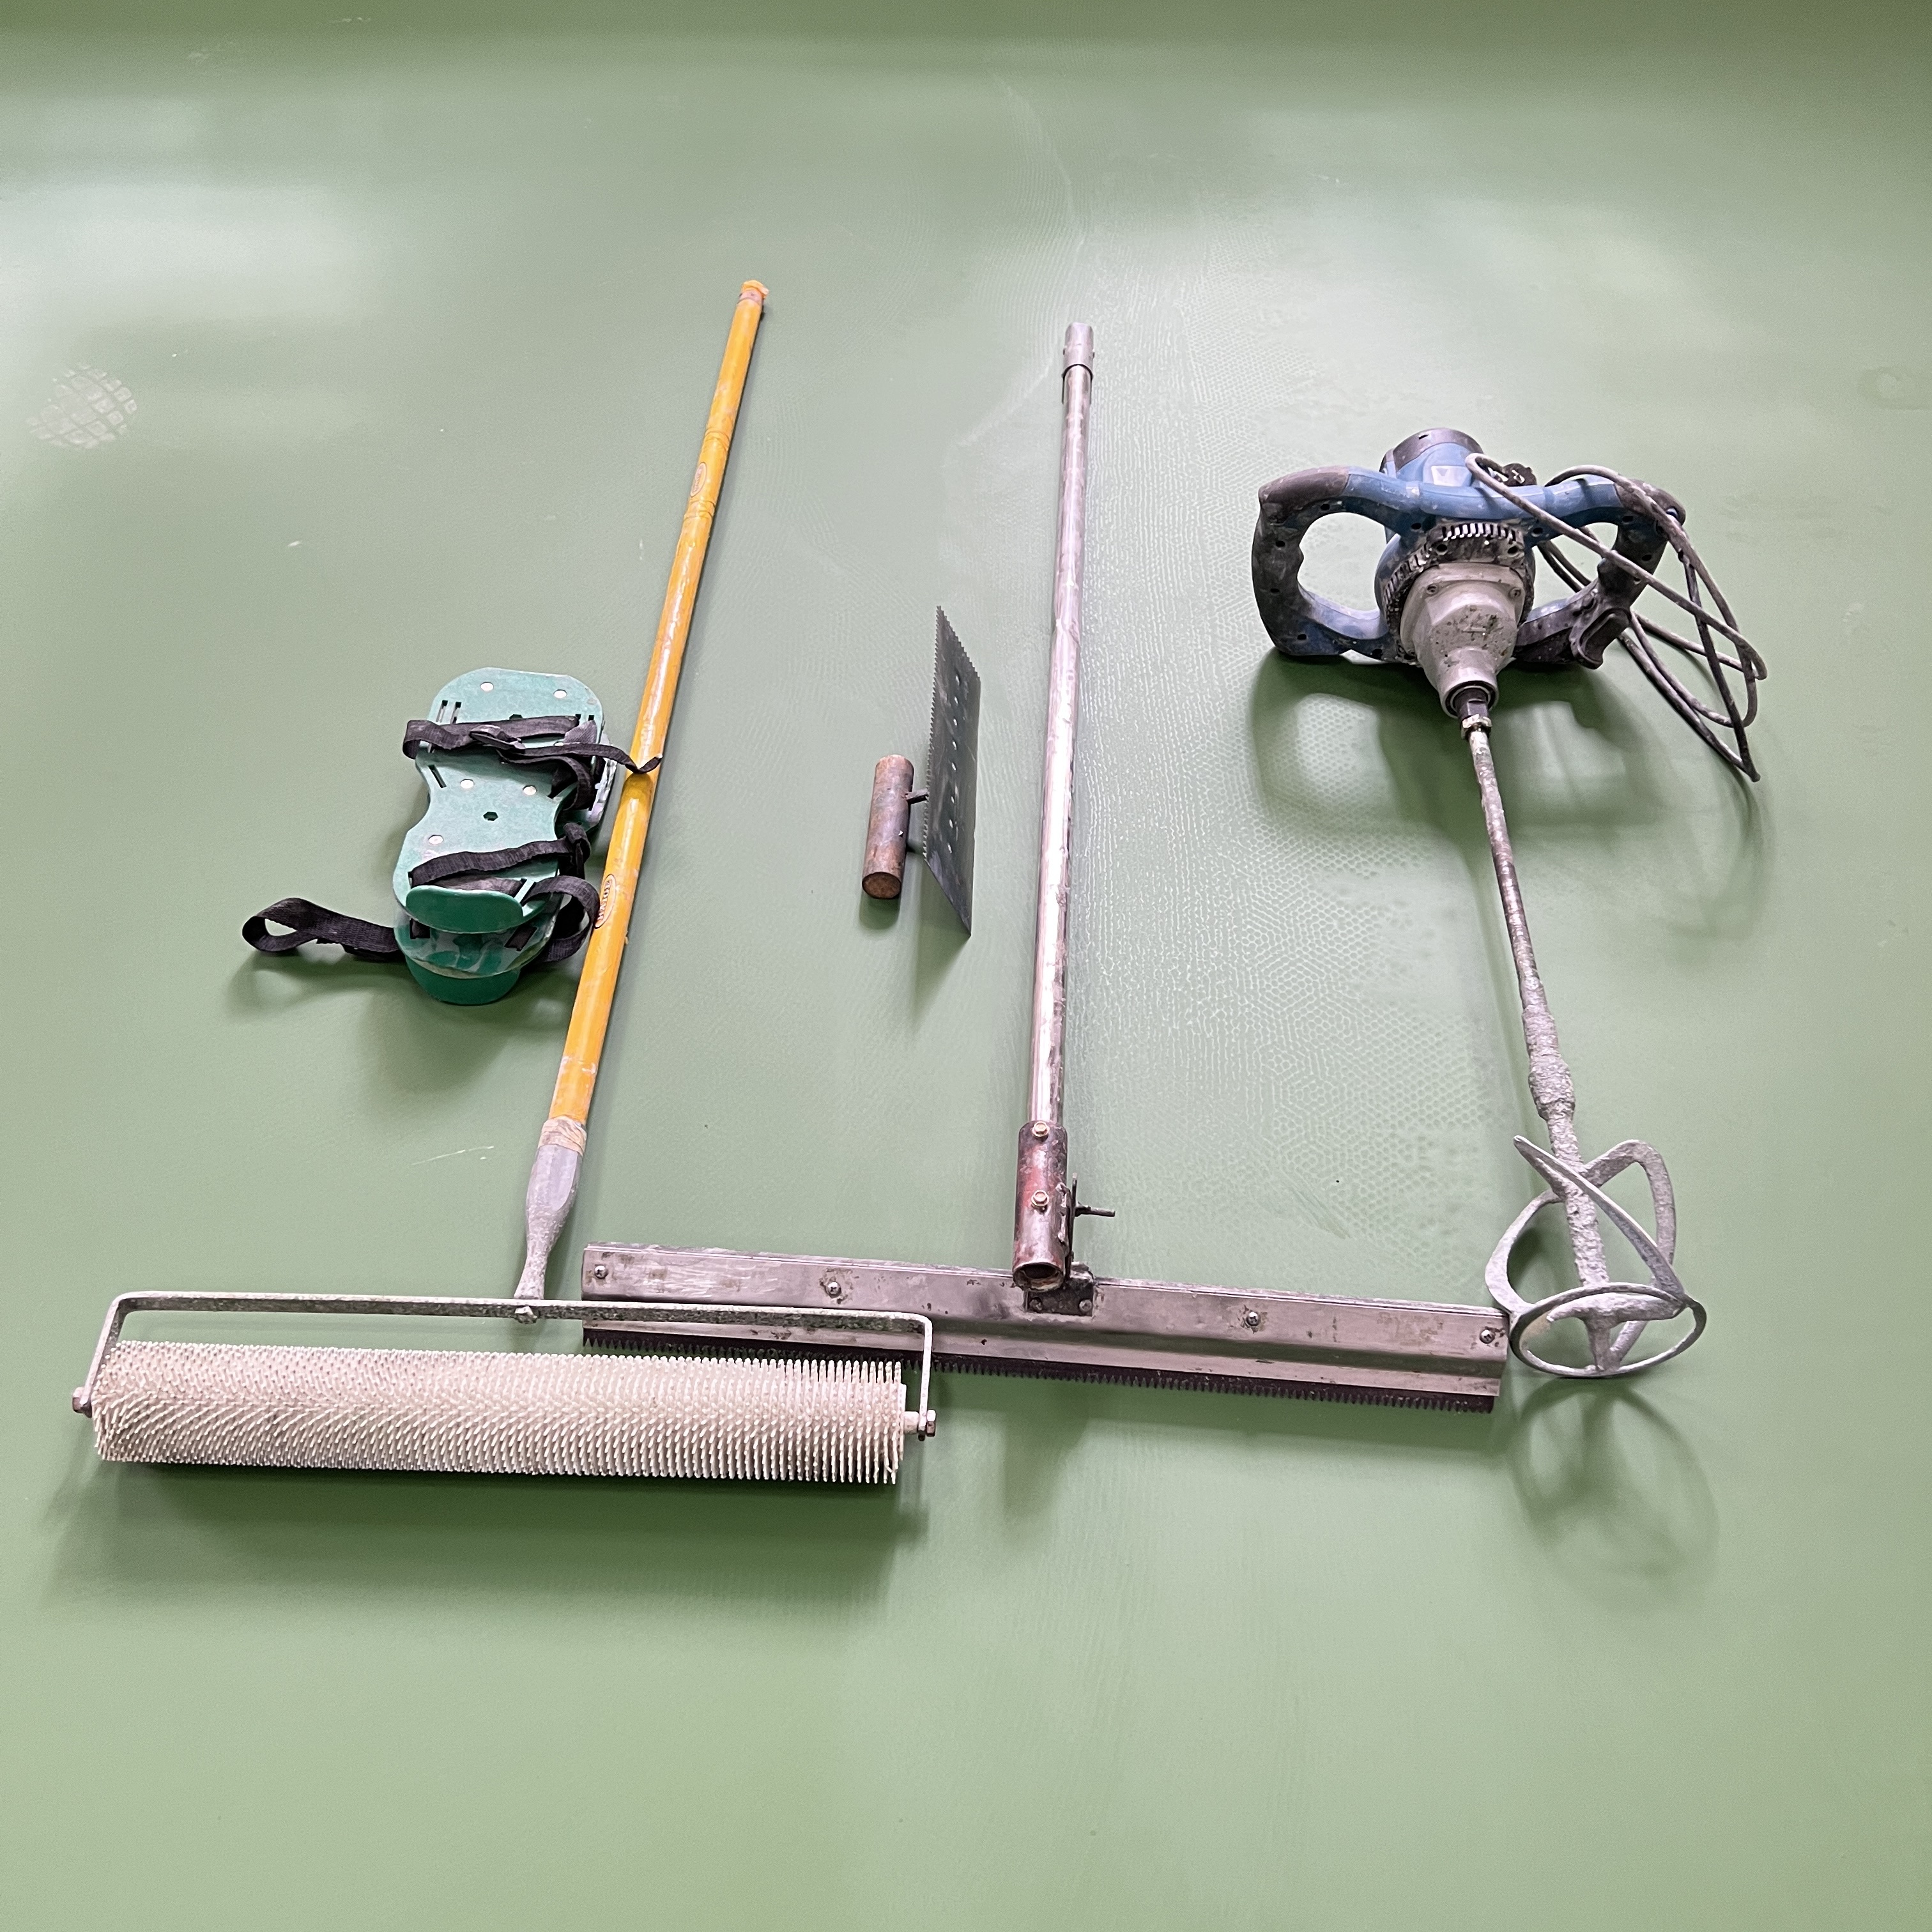
Step 5: Mixing and Applying the Epoxy
This is where most DIY projects fail. Epoxy coatings require precise mixing of resin and hardener, followed by a limited working time before the product begins to cure. Temperature and humidity dramatically affect this window.
Once applied, decorative flakes or metallic additives must be broadcast quickly and evenly—often within a two-hour timeframe or less in warm conditions. Mistakes at this stage are permanent.
Step 6: Curing Time
After application, the floor must remain untouched for at least 24 hours before foot traffic is allowed. Vehicles typically can’t return for a minimum of seven days. Even then, improper curing can lead to peeling, bubbling, or premature wear.
The Real Cost of DIY
When you factor in cleaning equipment, chemicals, preparation tools, application supplies, and coating kits, DIY epoxy flooring can become surprisingly expensive. At the high end—especially if professional-grade tools are purchased—costs can reach into the tens of thousands of dollars.
At that point, hiring a professional would have been the far better investment.
Why DIY Epoxy Floors Rarely Last
Most DIY kits include only a single coat and offer limited warranties that cover materials—not installation errors. If something goes wrong, the responsibility (and repair cost) falls entirely on the homeowner.
Poor surface prep, uneven application, or incorrect curing often result in peeling or failure within just a few years. Removing failed epoxy is time-consuming, messy, and costly. And unless tools were rented, homeowners are left with expensive equipment they’ll rarely use again.
The Right Way: Professional Epoxy Garage Floor Installation
If you want a garage floor that looks great and performs for decades, professional installation is the clear choice. Experienced contractors streamline the entire process—from surface preparation to final topcoat—using industrial equipment and commercial-grade materials.
Professionals don’t rely on guesswork. They understand concrete behavior, moisture levels, and coating chemistry, allowing them to install systems that routinely last 20–25 years or more.
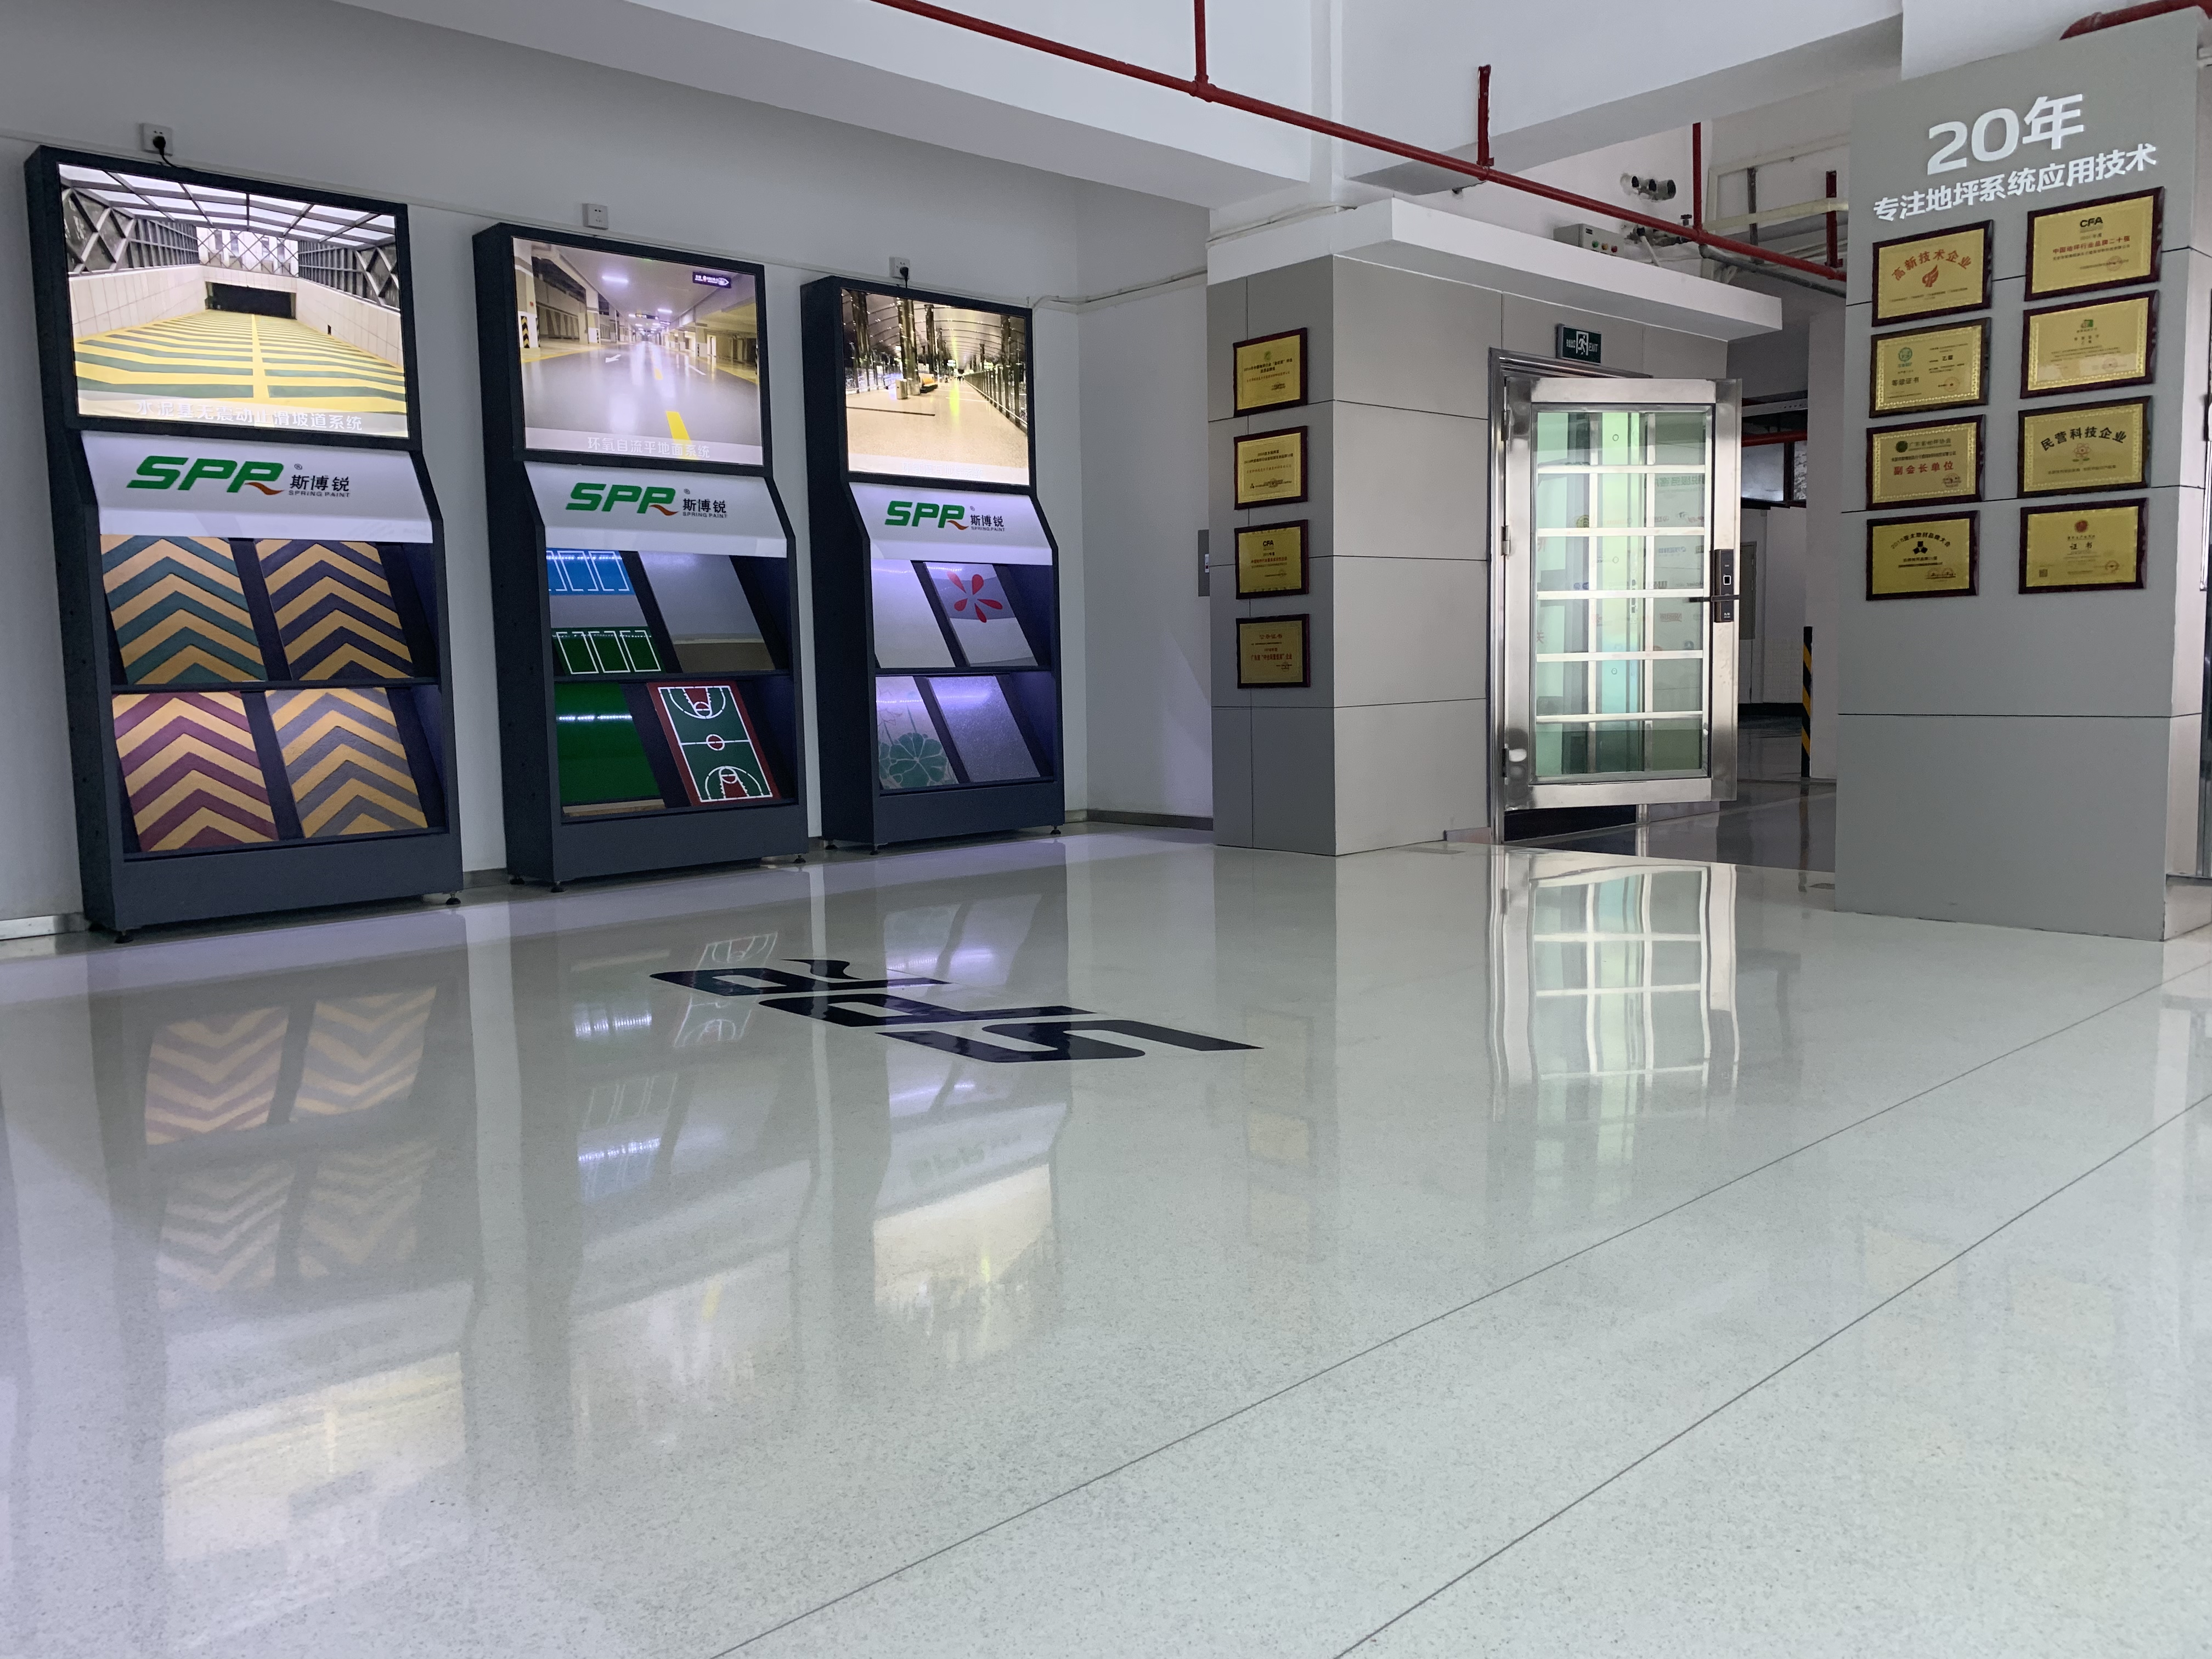
For homeowners in the Greater Salt Lake City area, SPR Paint delivers long-lasting epoxy garage floor solutions tailored to your needs. Since 2005, their team has protected and enhanced thousands of garage floors, patios, decks, and concrete surfaces.
A professionally installed epoxy floor doesn’t just protect your concrete—it improves appearance, functionality, and overall home value. Schedule a free consultation and see the difference expertise makes.
Link to this article:https://sprcoating.com/news/How-to-properly-apply-epoxy-resin-to-garage-floors_152.html